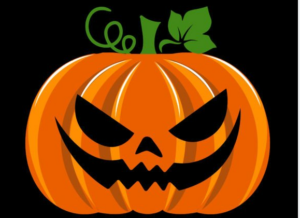
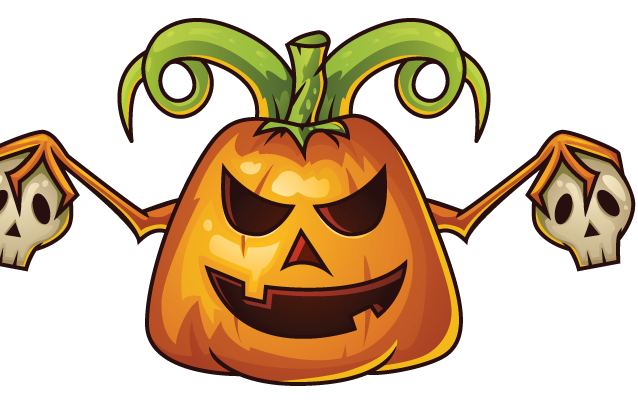
Drawing a scary pumpkin can be a thrilling and rewarding artistic venture, especially if you’re eager to infuse a dose of Halloween spookiness into your creations. Follow this step-by-step guide to master the art of drawing a truly terrifying pumpkin.

Step 1: Gather Your Materials
To begin with, ensure you have all the necessary materials before diving into your scary pumpkin drawing. You’ll need quality sketch paper, a set of drawing pencils, an eraser, and if you prefer, ink pens for outlining.
Step 2: Set the Mood with Sketchy Lines
Begin by sketching the basic shape of your pumpkin. Unlike a cute pumpkin, aim for irregular and jagged lines to create an ominous vibe. Experiment with different shapes to achieve a uniquely scary silhouette.
Step 3: Carve Out Sinister Features
Give your pumpkin an evil grin by sketching a twisted, asymmetrical mouth. Add sharp and menacing teeth for an extra dose of fright. Feel free to play with the mouth’s curvature to evoke different emotions.
Step 4: Intimidating Eyes
Craft eyes that send shivers down the spine. Consider uneven shapes, and varying sizes, and emphasize darkness within the eye sockets. Experiment with shapes to convey different expressions of horror.
Step 5: Haunting Details
Enhance the pumpkin’s fright factor by adding eerie details. Sketch deep lines for wrinkles and scars. Experiment with warts, bumps, or other irregularities to create a weathered and sinister appearance.
Step 6: Bring on the Shadows
Embrace the power of shading to intensify the scariness. Darken areas around the eyes, mouth, and any crevices. This creates a sense of depth, making your pumpkin look more ominous and three-dimensional.
Step 7: Outline with Precision
Switch to ink pens or darker pencils to outline your scary pumpkin with precision. Emphasize key features like the eyes and mouth to make them stand out. This step adds a polished and defined look to your artwork.
Step 8: Play with Lighting
Furthermore, experiment with different lighting effects to add drama. Consider casting shadows in strategic places to enhance the spooky ambiance. This step is crucial in creating a realistic and haunting atmosphere.
Step 9: Add a Disturbing Stem
Deviate from the norm by giving your pumpkin an unconventional or twisted stem. This small detail contributes to the overall eeriness of your creation.
Step 10: Fine-tune and Evaluate
Take a step back to evaluate your scary pumpkin drawing. Fine-tune details, adjust shading and ensure all elements contribute to the intended frightening effect. Make any necessary refinements to perfect your masterpiece.
Step 11: Share Your Horror
Display your spine-chilling creation proudly. Share it on social media, in art communities, or even in your Halloween decorations. Your scary pumpkin is not just a drawing; it’s a testament to your artistic ability to evoke fear through visual expression.
Conclusion
Drawing a scary pumpkin allows you to explore the darker side of your creativity. Drawing a scary pumpkin requires attention to chilling details. Start by sketching the classic pumpkin shape, then add sinister elements like jagged eyes and a wicked grin. Shade the eyes and mouth to create depth, giving your pumpkin an eerie glow. Use contrasting shadows to highlight the spooky features. Experiment with expressions, making each one uniquely frightening. Consider incorporating eerie symbols or adding a creepy backdrop. A combination of bold lines and shading techniques will bring your scary pumpkin drawing to life, creating a spooky masterpiece that captures the spirit of Halloween in every stroke. Use this step-by-step guide as a launching pad, and don’t be afraid to experiment with different elements to make your scary pumpkin truly one-of-a-kind. Unleash your artistic fearlessness and let your imagination run wild!

