Drawing a cute pumpkin is not just an artistic endeavor; it’s a delightful journey into whimsy and creativity. Whether you’re a seasoned artist or just starting with doodles, this step-by-step guide will help you bring an irresistibly charming pumpkin to life on your canvas.
Materials You’ll Need:
- Sketchpad or Drawing Paper
- Pencils (B, 2B, and 4B for varied shading)
- Eraser
- Fine-tip Black Marker (optional for outlining)
- Colored Pencils or Markers (optional for adding a pop of color)
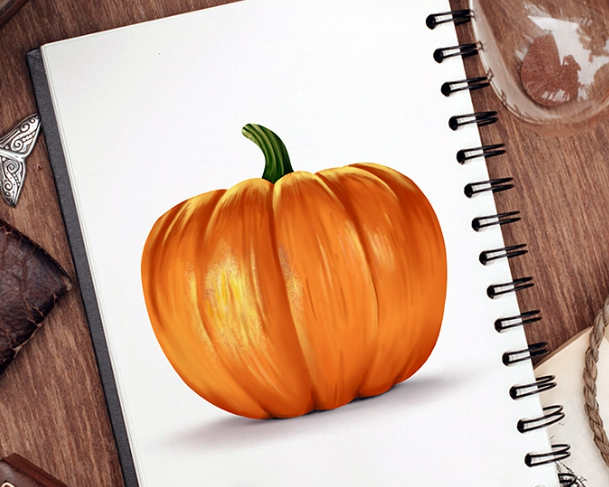
Step 1: Basic Pumpkin Shape
Begin by drawing a slightly flattened oval shape. This will be the base of your cute pumpkin. Don’t worry about perfection; a whimsical pumpkin can have a bit of quirkiness in its form.
Step 2: Add Facial Features
Give your pumpkin some personality by adding eyes, a nose, and a smiling mouth. Experiment with different eye shapes and mouth expressions to bring out the cuteness. Consider adding rosy cheeks for an extra adorable touch.
Step 3: Detailing the Pumpkin Skin
Draw gentle curves and lines across the pumpkin’s surface to create the characteristic pumpkin ridges. Keep the lines soft and organic to maintain the cute aesthetic.
Step 4: Enhance the Eyes and Mouth
Add eyelashes, highlights in the eyes, and perhaps a tiny tooth poking out from the smiling mouth. These small details can elevate the expressiveness of your cute pumpkin.
Step 5: Incorporate Leaves and Vines
Extend a couple of curved lines from the top of the pumpkin to create whimsical leaves. Add smaller lines for veins. You can also draw a twisting vine spiraling around the pumpkin for an extra touch of charm.
Step 6: Shading for Depth
Use varied pencils (B, 2B, and 4B) to add shading, emphasizing the curves and contours of the pumpkin. This step adds depth and dimension to your drawing, making it visually appealing.
Step 7: Optional Outlining
If you want a clean, defined look, use a fine-tip black marker to outline the main features of your cute pumpkin. This step is entirely optional and depends on your preferred style.
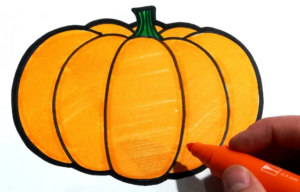
Step 8: Add Color (Optional)
Bring your cute pumpkin to life by adding color. Use colored pencils or markers to add vibrant hues to the pumpkin skin, leaves, and vines. Experiment with different color combinations for a personalized touch.
Step 9: Final Touches
Review your drawing and make any final adjustments. Consider adding a whimsical background or additional details to enhance the overall composition.
Step 10: Experiment with Expressions
Take your cute pumpkin to the next level by experimenting with different facial expressions. Try drawing a winking eye, a surprised expression, or even a playful tongue sticking out. This adds a playful and dynamic element to your adorable pumpkin character.
Step 11: Play with Proportions
Consider altering the proportions of your cute pumpkin to create diverse personalities. Experiment with a chubby pumpkin, a tall and skinny one, or even a group of pumpkins with varying sizes. This step allows you to explore different visual narratives within your artwork.
Step 12: Create a Story Around Your Pumpkin
Extend the creativity beyond the drawing by crafting a narrative for your cute pumpkin. Imagine its adventures, friends it might have in the pumpkin patch, or the magical world it inhabits. This storytelling aspect adds depth and engagement to your artistic creation.
Step 13: Share Your Artwork
Spread the joy of your cute pumpkin by sharing your artwork on social media platforms or art communities. Embrace feedback from fellow artists and enthusiasts, fostering a sense of community and inspiration.
Step 14: Explore Mixed Media
Take your cute pumpkin drawing into the realm of mixed media. Consider incorporating elements like collage, glitter, or even three-dimensional additions for a truly unique piece of art. Mixed media allows you to experiment with textures and materials, enhancing the overall visual appeal.
Step 15: Build a Collection
Why stop at one cute pumpkin? Build a collection of adorable pumpkin characters with varying expressions and styles. This not only expands your artistic portfolio but also creates a cohesive theme that can be visually striking when displayed together.
Conclusion
Drawing a cute pumpkin is not just about creating art; it’s about embracing the joy of creativity. Allow your imagination to guide you, and don’t be afraid to inject your unique style into the drawing. Whether you’re sketching for relaxation or honing your artistic skills, this cute pumpkin tutorial promises a delightful and charming experience from start to finish.